Salt Curing for Beginners
Charcuterie, Lacto-Fermentation and Much More
Salt curing is one of the oldest methods of food preservation, and in most cases, you need little more than a bit of salt and patience.
You can salt-cure almost anything you can eat, but people are likely most familiar with salt-cured meats, things like prosciutto, pancetta, and salami. And veggie lacto-ferments like saurkraut and kimchi.
By happenstance, many of the nasty food spoilage types of bacteria can’t thrive in salty environments, but some types of “good” microbes that humans call probiotics do just fine.
In most cases, you’re adding salt to slow down the proliferation of “bad” microbes, until the “good” microbes can take over. As the “good” microbes take over, they make the food more acidic, which prevents the food from spoiling in the longer term.
These little guys also enhance the flavor of food, release umami compounds, and otherwise make the food a lot more interesting than it would have been had it not been cured.
For most foods, the magic amount of salt is about 2 1/2 to 3 percent by weight, and most recipes suggest around 3 1/2 percent just for an extra safety margin. That’s enough salt to give the good guys a leg up until they can release enough acidity to kick the bad guys to the curb.
Fruit & Vegetable Lacto-Ferments
When making vegetable lacto-ferments like sauerkraut, the simplest way is to make a salt solution with water and pour it over the shredded cabbage.
In rough numbers, you want about a tablespoon of salt to a quart of water. Add a weight to keep the cabbage submerged under the water line, and wait.
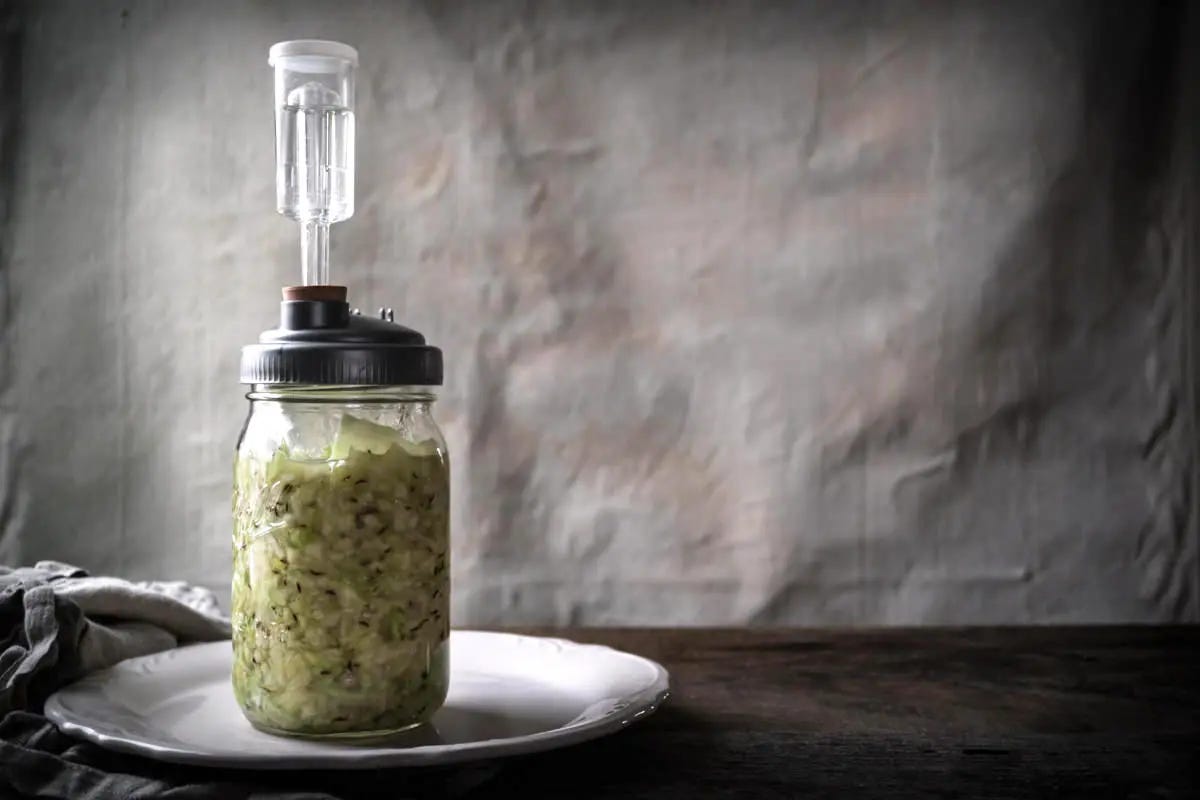
Fancy water locks are optional; all you really need is cabbage, salt, and something to keep the cabbage submerged (even a clean rock will do, but these days, people go with ceramic or glass weights or a Ziploc bag filled with water in a pinch). (Here are a bit more details on the sauerkraut-making process, if you’re just getting started.)
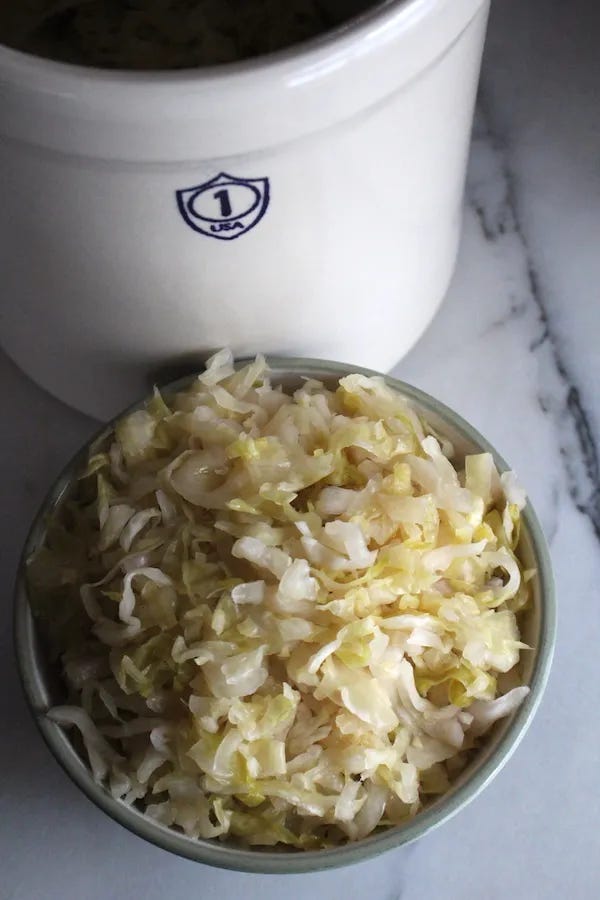
Old-fashioned recipes before convenient easy to clean mason jars usually make sauerkraut in a crock, and in those, they don’t add water. (Back in the day, water was suspect anyway).
They just shred the cabbage and pound it, and it’ll release its own juices. Adding salt keeps the juices flowing, and it’ll release more than enough to keep everything submerged. If you’ve got an experienced eye, you can do it by sight, but most people weigh the ingredients for this method to ensure they hit 3.5% salt.
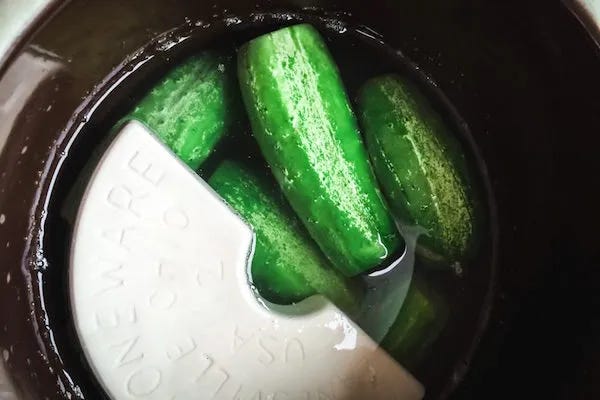
It doesn’t have to be cabbage, and the same process works for just about any vegetable. Old-fashioned pickles were salt-cured and fermented in much the same way as sauerkraut.
They were done whole though, not pounded.
Those big Lacto-fermented pickle barrel pickles are coming back into vogue, and you can now find them at health food stores and Eastern European groceries.
Fruits are done in a similar way, but they’re often cured or fermented just for flavor, since the salt and acidity won’t inhibit yeast, and they’ll become alcoholic pretty quick. It's delicious and boozy, but that’s a different process, and you don’t need salt for homemade wine or rumtopf.
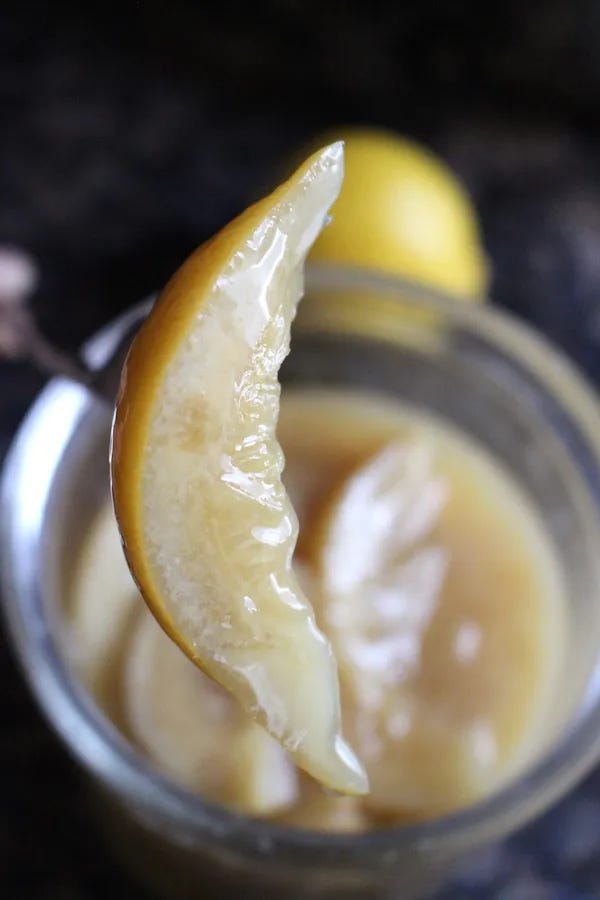
Cured olives and salt-cured lemons use a higher salt concentration, and they have their own flavor transformations. Salt-cured lemons are truly amazing, and if you haven’t tried them, you’re really missing out. They go equally well on roast meats as in pasta dishes, and they’re even great in yogurt, ice cream and cookies.
Lemon, but not sour, just complex and umami rich.
Salt Cured Meats
People start to get nervous when it comes to curing meat at home, and understandably so.
When working with ground meat for things like salami, it’s REALLY tricky to get things right, and you do need a lot of specialty equipment, ingredients, and know-how. Salami is not for beginners!
For whole muscle curing, it’s just the opposite and perfect for beginners.
Easy peasy and all you need is salt. Nitrites are optional, and traditional prosciutto, pancetta, and guanciale are still made without nitrites to this day. (This video does a great job explaining when you do and don’t need nitrites for curing.)
These beginner whole muscle cures are a great place to start:
Guanciale (cured pork jowl)
Pancetta (cured pork belly)
Lonzino (cured pork loin) - This one’s my favorite!
Duck Prosciutto (cured duck breast)

These types of cures are meant to last a long time, and they can hang in a cool, dark place and are preserved without refrigeration.
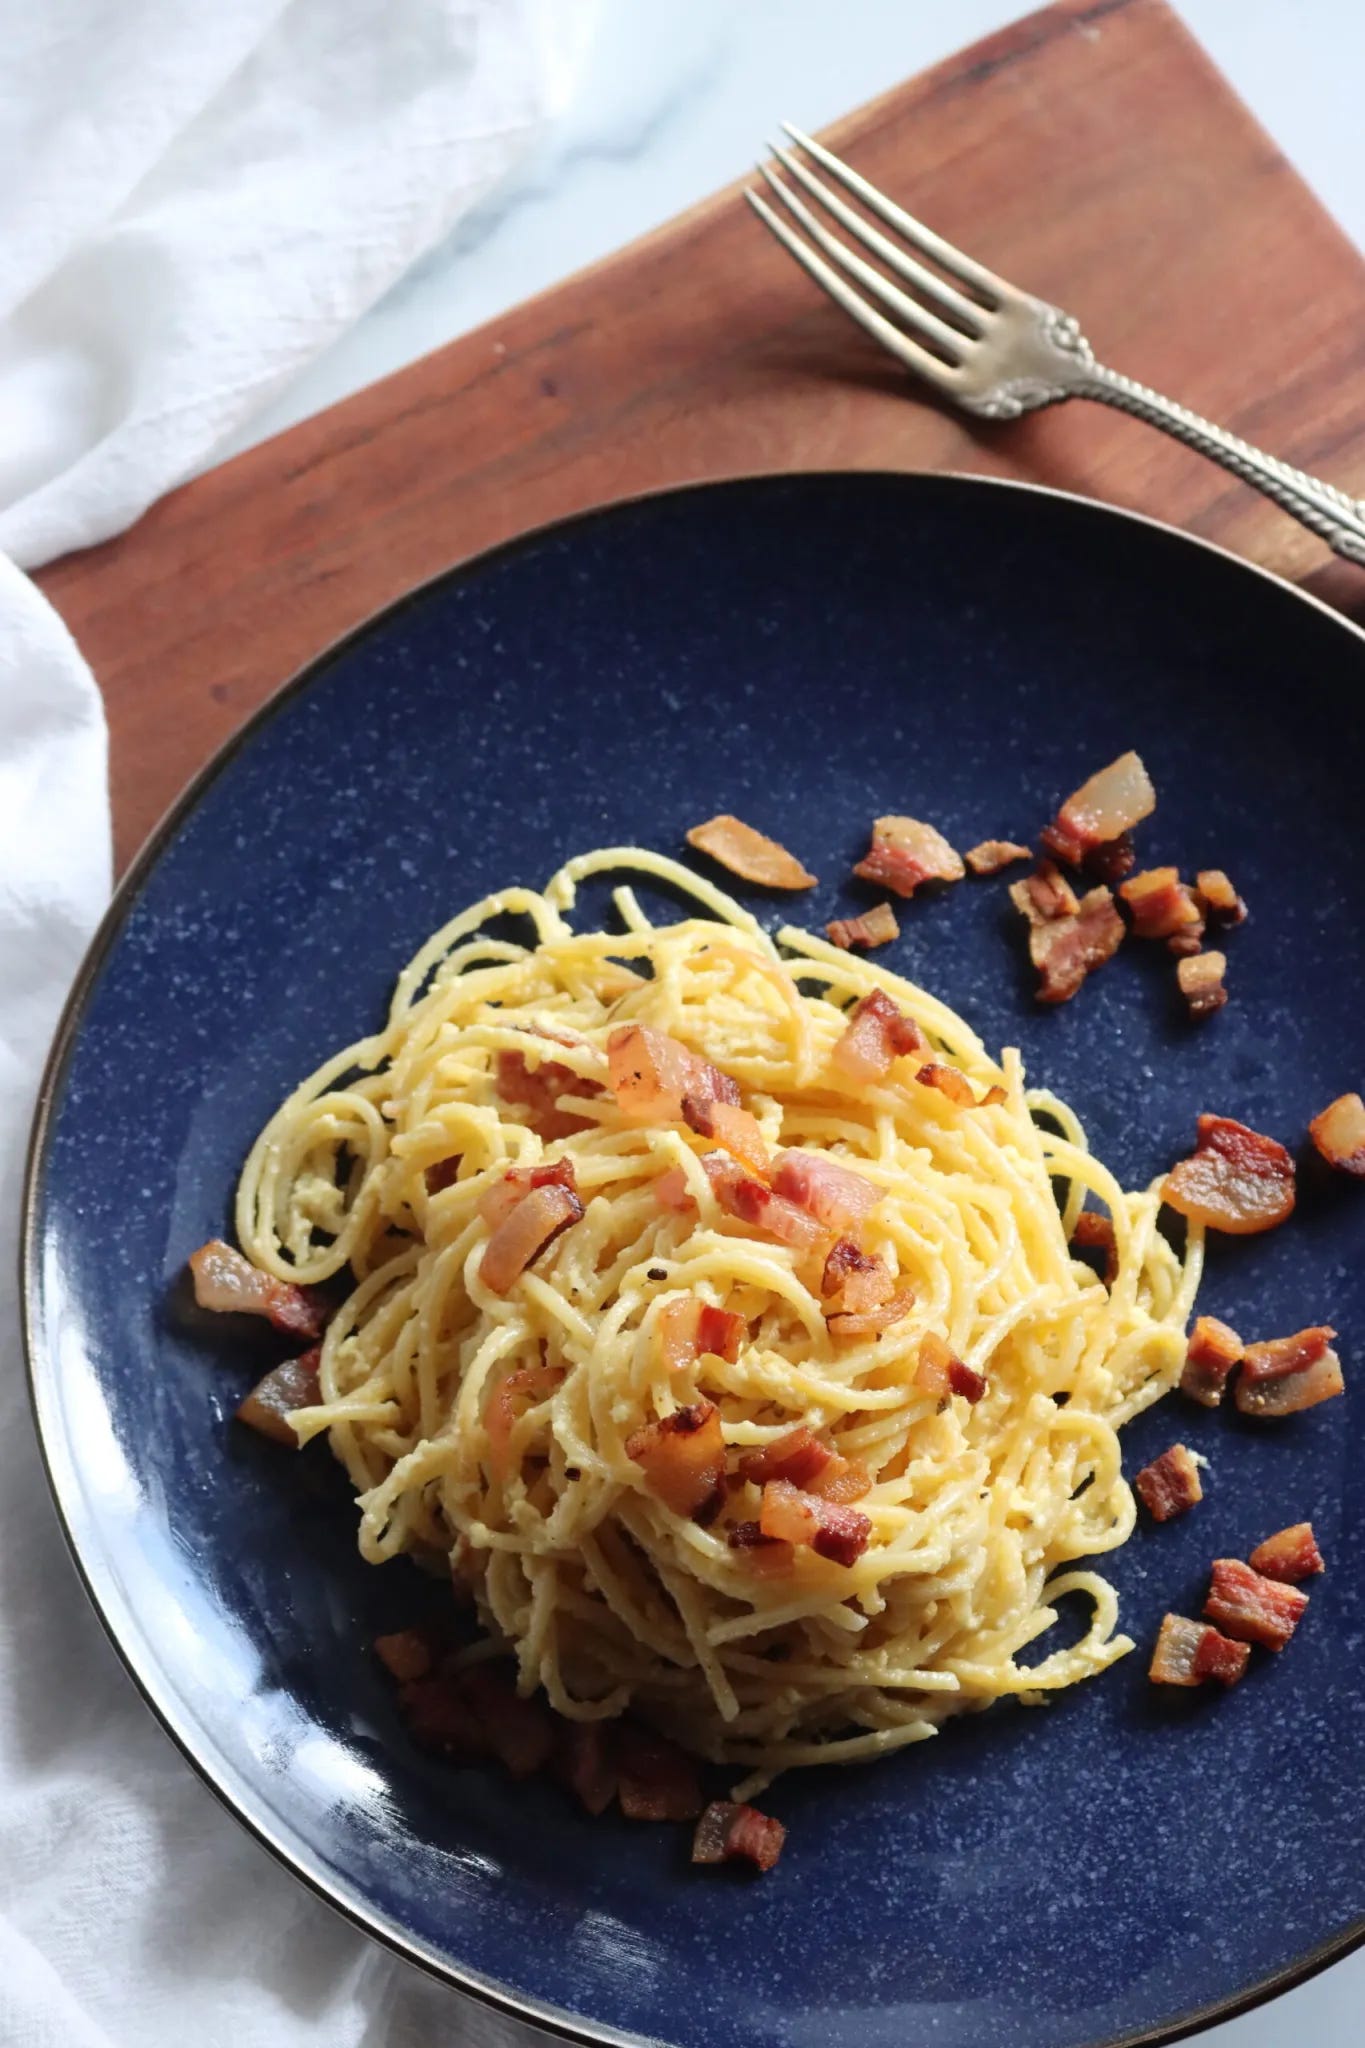
And they’re the backbone of many traditional recipes, like spaghetti carbonara (with guanciale).
Back in the day, bacon was made in a similar way, plus smoking. The sides of bacon that they took across the plains in covered wagons were A LOT different than the bacon we make today, and it’d keep…but you’d chip a tooth on it. It had dried into something we wouldn’t recognize as modern bacon.
Modern bacon is cured, then smoked (or slow-cooked in the oven if you don’t have a smoker). It keeps for a long time too, but in the refrigerator.
Somehow, I don’t have a recipe for pork bacon posted yet, but I’ll remedy that this year. In the meantime, beef bacon is out of this world, and made the same way.
Other Salt Cures
There are other types of salt preservation with A LOT of salt, and these recipes try to inhibit all bacteria (good and bad). Once you get over 10-12% salt, you’re stopping most everything, including those tasty lactobacilli that make the cures we’re familiar with today.
Older recipes like salt pork used this method, and they just packed the meat in an incredible amount of salt so it’d stay at room temperature pretty much indefinitely (provided everything stayed submerged).
Townsends has a great video on traditional salt pork, so you can see the process.
The actual measured quantities are vague because there aren’t written historical “recipes” for this type of thing since it was just common knowledge at the time.
I’m hoping to write up a recipe with weighed amounts to help y’all do it with a bit of confidence if you want to try it. Coming this year, hopefully.
Other non-meat things were preserved with a salt pack, too, and the book Putting Food By has recipes for making salt-packed corn or green beans and similar processes for dandelion greens. The idea is that it doesn’t change the flavor like lacto-fermentation, and so they’re not “pickled.” They are incredibly salty though, and need to be soaked before eating (or just tossed into a big pot and used to “salt” a dish like a stew).
There are not many recipes like this in the modern era because refrigeration is magic, so you really have to sift through historical documents to find references to these high-salt packs.
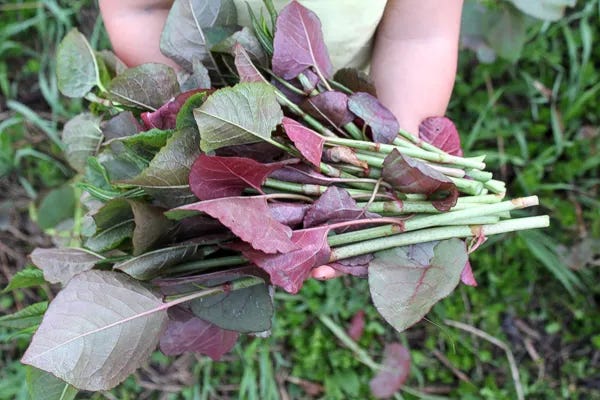
There is one traditional recipe that still uses this today, and it’s for salt-packed Japanese Knotweed. In the US, it’s incredibly invasive, but in Japan, they eat it and control it with their forks.
They eat so much of it that they actually preserve it so they can have it year-round, and that’s done with a traditional salt pack.
(I don’t preserve knotweed, but we do eat plenty of it. Knotweed recipes are surprisingly delicious and can taste either like rhubarb or asparagus, depending on how you prepare it.)
There are more salty preserves out there; you can even make salt-cured egg yolks or salt-brined cheeses like traditional brined feta. I could go on forever, but hopefully, this gets you started and gives you a bit of inspiration for starting your own simple salt cures.
What did I miss? What are your favorite salt-cured foods? Leave me a note in the comments!
This newsletter may contain affiliate links.
Until Next Time,
Ashley at Practical Self Reliance




Question via email:
Thank you for the examples and showing the difference between salt curing in fermentation and no fermentation. Will the egg yolk become firm like a cooked egg? How would it be used? Would the salt penetrate all the way through or just be on the outside. Can it be rinsed off before use? I can't see how this could be used in baking, maybe egg salad sandwiches?
Answer:
The salt-cured egg yolks come out very similar to parmesan cheese in texture and flavor. Not like a cooked egg, but more like cheese. You dust the salt off the outside, and then they're usually grated over either sweet or savory things (or anywhere you'd use parmesan). The flavor isn't exactly parmesan, of course, but it's in a similar direction.
This is just a variation of home kraut that I am loving...
Curtido is a ferment popular in Central America, similar to (but not the same as) European sauerkraut or Korean kimchi. Like other ferments, this one never comes out the same way twice, but it always tastes great, and can be ready within three days for a fabulous, gut-friendly relish.
1/3 medium white cabbage (one of the denser varieties) chopped/shredded
1/3 medium red cabbage, chopped/shredded
1 carrot, julienned
1 onion, thinly sliced
1 level teaspoon chipotle chilli flakes
1 level teaspoon jalapeño chilli flakes
1 tsp of Mexican oregano (Mexican oregano is in the verbena rather than the mint family, and is stronger than the regular oregano we're used to in the UK, but you can substitute this for two teaspoons of regular oregano)
2 teaspoons freshly ground cumin (I heat the seeds in a dry frying pan before I grind them)
2 teaspoons sea salt
1/2 cup of lightly salted water and apple juice mix (50/50)
-In a bowl mix the cabbage, carrot, onion, salt, chilli flakes, oregano and cumin until evenly distributed. (You can massage the cabbage first if you want to.)l
-Pour in the apple/water mix.
-In a 1 litre Kilner/Mason jar press the vegetables down hard. I use the end of a rolling pin for this, and that gets the juices flowing. You can also use a few whole cabbage leaves to cover the vegetables.
-You need to make sure the curtido is covered with liquid, so if necessary, use the cabbage heart to hold the vegetables down firmly when you close the Kilner jar.
-Keep in a warm place out of the sunlight (in the winter I use the airing cupboard) and place the jar in a bowl to catch any of the liquid that might (and probably will) escape. These ferments can get fizzy quite quickly. Open the lid once (at least) a day to burp the jar.
-This ferment can be enjoyed after as few as three to five days. After about five days I generally place it in a new jar and keep it in the fridge, where it doesn't remain long.