


Late April 2024| Practical Self Reliance
Bring on the BUTTER!

Springtime is all about new green growth, pulling us out of the darker days of winter. We’re not the only ones excited about the return of green plant growth, and arguably, it’s less meaningful for us on a personal level than it is for all the grass-eating ruminants that depend on it for their lifeblood.
This is when dairy animals bear their young, and in the days before year-round milk from the grocery store, this is when we’d be tasting the first spring cream (and fresh butter).
Read More: How to Make Cultured Butter
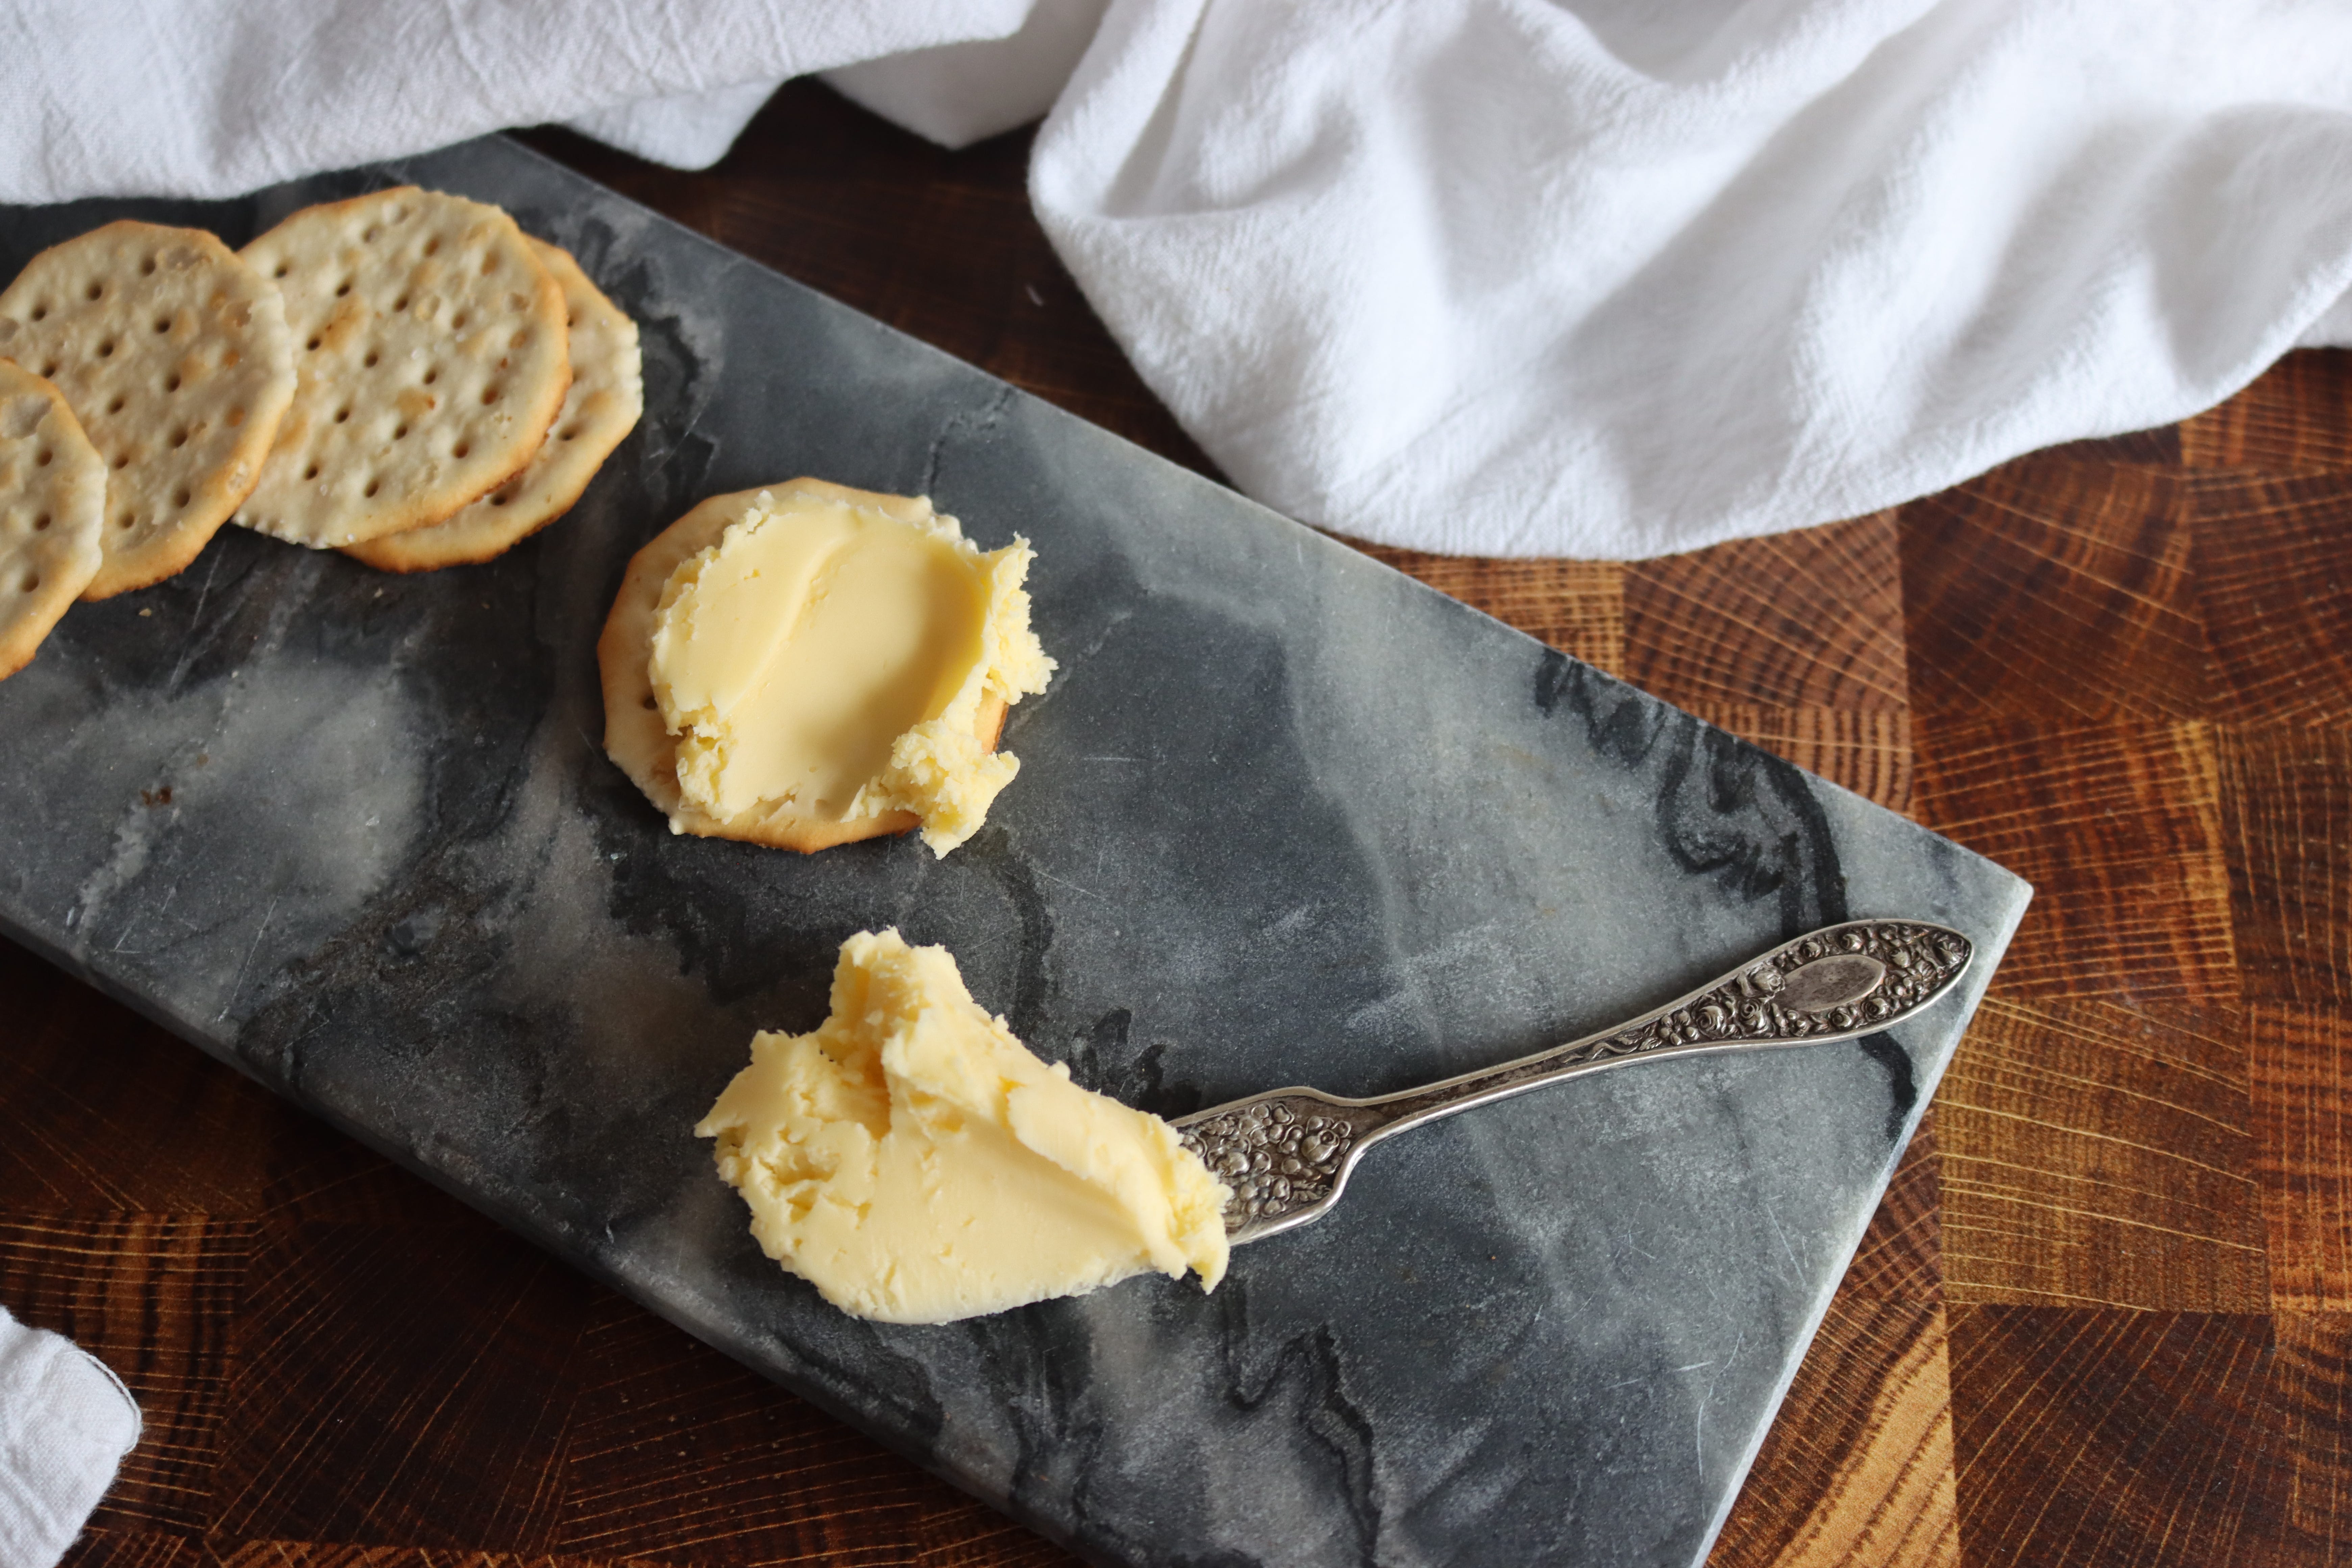
This post was originally a substack newsletter with a tutorial for making cultured butter. It’s now fleshed out into a full article, and you can find it on my website.
(And here’s where you can find all my other cheesemaking recipes if you’re feeling ambitious.)
Until Next Time,
Ashley at Practical Self Reliance
I've done this and it is delicious but not cost efficient. Retail cream here is expensive. Need to find a wholesaler willing to sell smaller quantity reasonably
Fun article, I'm a butter geek myself.
One suggestion, try stopping the churning BEFORE the butter lumps together. Rinse the granulated butter in a fine mesh sieve. You butter will get cleaner and last so much longer.